
Selecting Planning Table Data
Your managed planning workflow features a range of managed tasks that transition initial underground design data to mining activities and volumes that can be scheduled at levels of varying granularity.
To support these tasks, data is often presented in tables that are embedded within the various tasks of the planning toolset, for example:
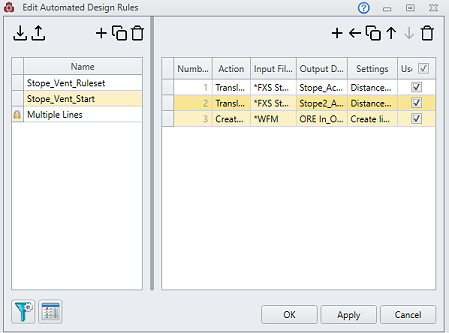
This arrangement of data is often referred to as a 'table grid'.
Some common table grid actions include:
- Modifying the position of rows within a table, where ordering is important.
- Deleting table data
Where multiple table rows are selected, it is possible to perform 'bulk changes' in some situations. For example, you may wish to delete multiple design definitions at once as they are no longer relevant following design changes, for example. In this case, individual definitions can be selected and deleted in bulk.
Where table grids are present (and multiple row selection is supported) you can either select a single row using a left-mouse-click, or you can select multiple rows. Multiple row selection, where supported, is possible by:
- Left-clicking with CTRL held down to add to the current selection of table grid rows.
- Left-clicking with SHIFT key held down to select all rows between the first and second clicks.
Once multiple rows are selected, some functions may be available to perform bulk changes.
In some cases it will not be possible to adjust multiple table row selected data, for example where all table rows are selected, it is not possible to perform a bulk move operation (move up, move down). Similarly where items in the table are 'locked' (as indicated by the small lock icon) and are within the selection scope.
Related topics and activities